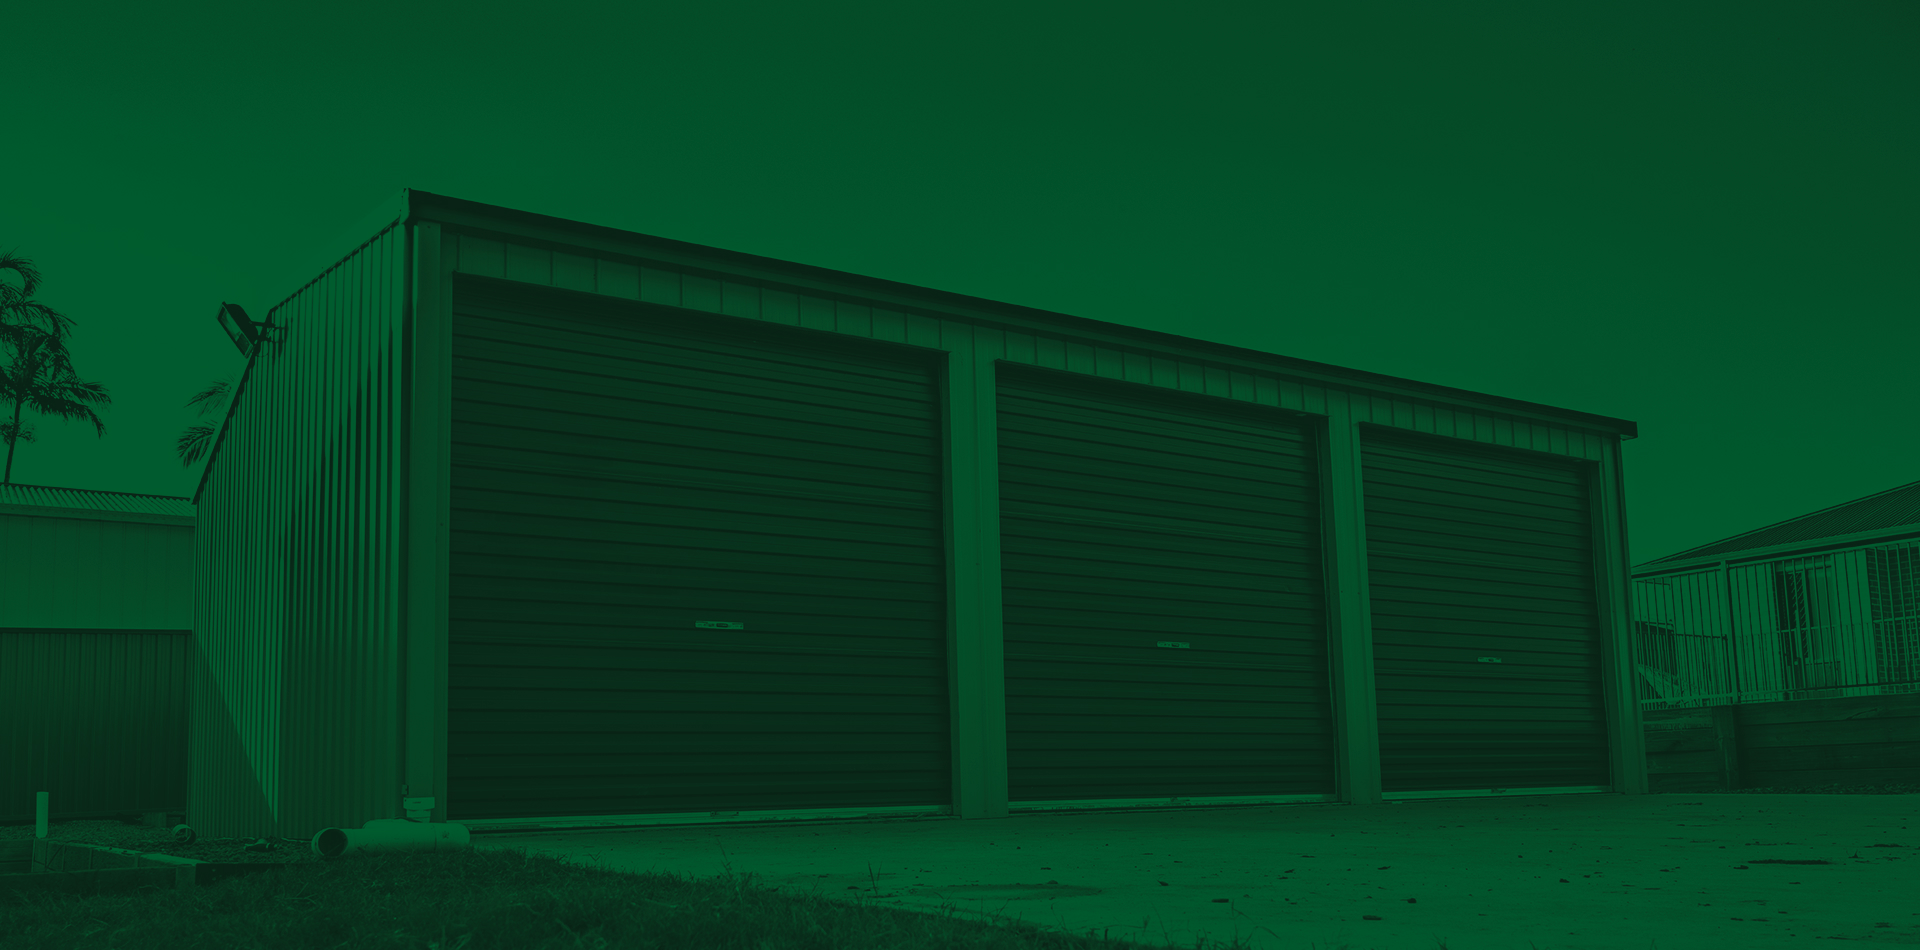
DIY: Your Guide to Building A Backyard Shed
You can never have enough storage space in the home, so even if you don’t think you necessarily need a storage shed, truth is, you’ll want one. However, this project needn’t be an expensive venture. You have the option of getting a contractor or labourer to complete the whole project for you, but a better way to have a new storage shed in your yard is to do it yourself.
Getting Started
Like all structures, a storage shed needs a solid foundation. A sturdy base will ensure your shed stays level and will protect it from moisture and will keep your shed strong over the coming years. Before you start, you should also ensure you have local authority approval for your shed. Depending on the size of your shed and where it is located, you may need approval from your local council to build it. Be aware of and have a solid understanding of where underground utilities are running before excavating or digging to avoid any potential hazards. If you are not sure, you local council will be able to provide you with advice on where utilities are before you start digging in your backyard.
Building a Foundation
You have a few options when choosing a base for your storage shed. The most common bases people choose are a concrete slab or a timber-framed base, also known as a portabase. Both options will work well to ensure the build of your shed goes well. If your base isn’t level, you may find constructing your shed proves to be a little difficult, ie: screw holes don’t match up on your kit, etc. Ensure your base is an appropriate size for the shed that you will be building and it is in fact level.
Whether you choose a timber-framed base or a concrete slab, either one can be constructed yourself or by a contractor. However, they are both relatively easy to do yourself. You may also be able to get a construction kit for either of these options, depending on your local supplier and your needs.
Another great option is to have a base made of paving slabs. This is a great choice for those who are just starting on DIY projects and are not very sure on the other kinds of bases available. You just need some large paving slabs (although if they are larger than 600mx600m, you will need help from someone else to lift them and move them into place) to create the base, which is held in place to create a base using cement. Just like tiling a floor, you will also then finish the job by using grout between the gaps of your pavers to ensure they stay in place.
Once your base is set and the flooring is complete, you’re then ready to construct your shed. If you have used a base that requires drying time for cement or grout, ensure you leave the base for at least 48 hours before building your shed and walking on the base. If bad weather is forecast, be sure to cover your base with tarpaulin whilst the base sets and dries. Before erecting your shed, re-check the base to ensure it is level and square as drying times can sometimes affect the state of the base.
Building your Shed
There are a couple of options when choosing to build your shed. You can either buy a shed kit from your local hardware or shed supplier, which will have all you need to build your shed. Or, you can build one from scratch using a plan and materials.
The best part about buying a kit, is that all of your materials are already cut and shaped to size. You simply need to ensure that you follow the included instructions correctly and construct the shed to the manufacturer’s recommendations. You will usually need to buy screws, nails, etc separately, however some kits will include these items. You may find, however, that you want to purchase your own nails or screws that are of higher quality, but this is a personal preference.
You can also build a shed from scratch using a plan. You can find some free designs at The Family Handyman. There are a number of different plans to choose from with various difficulty levels. Some plans are easier than others and there are also various sizes to choose from. Depending on your needs, you should be able to find a plan online that creates the shed you need, both in style and in looks.
Finishing Touches
Once your shed is complete, there are a couple of finishing touches you may want to include. Depending on your kit or plan, you may include windows or specialty doors to give it a fresh look that is custom to your needs. You can also paint the shed (if it is constructed with materials that can be painted, such as a wooden shed) if you prefer, or you can keep it with it’s original wooden colours. You may also opt to stain or oil the wooden shed to ensure the wood maintains its natural shade and is also protected by the weather and heat elements.
If storing garden equipment, you may want to consider some security measures such as sliding bolts, padlocks and maybe even a shed alarm. These simple measures may be just enough to deter any potential break ins to your shed and you will be safe in the knowledge that your goods and items are secure from theft. You don’t have to spend a fortune on security measures. Even a simple sliding bolt and a padlock may be just enough to keep everything safe. Ensure windows that open have locks on them or are only able to be opened from within the shed.

